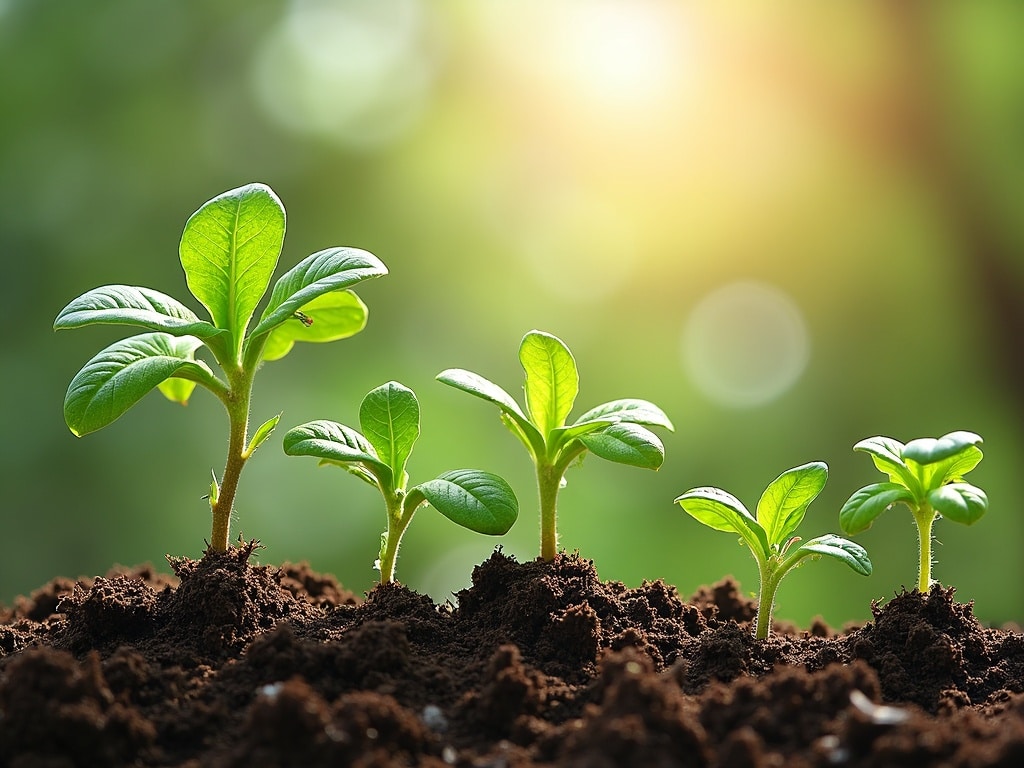
Growing a Garden from Kitchen Scraps: A Sustainable Guide
Ever wondered what happens to the ends of your carrots, the tops of your pineapples, or the seeds from your peppers? Most likely, they end up in the compost bin – or worse, the trash. But what if you could transform those humble kitchen remnants into a thriving garden? Growing a garden from kitchen scraps is a surprisingly easy, rewarding, and sustainable way to bring fresh produce to your table and reduce waste.
Why Grow a Garden from Kitchen Scraps?
There’s a quiet satisfaction in coaxing life from something destined for the landfill. But the benefits of growing a garden from kitchen scraps extend far beyond mere satisfaction.
- Sustainability: Reduce your carbon footprint by minimizing food waste and reliance on store-bought produce.
- Cost-Effective: Save money on groceries by growing your own vegetables, herbs, and fruits.
- Environmentally Friendly: Reduce the need for pesticides and herbicides by growing organically.
- Educational: Learn about plant propagation and develop a deeper appreciation for the natural world.
- Fun and Rewarding: Witnessing new life emerge from discarded scraps is a uniquely gratifying experience.
Getting Started: What You’ll Need
Before you dive into the world of regrowing kitchen scraps, gather a few essential supplies:
- Containers: Pots, containers, or even recycled yogurt containers work well. Make sure they have drainage holes.
- Potting Soil: Use a well-draining potting mix to provide the necessary nutrients for your plants.
- Water: Consistent moisture is key to successful regrowth.
- Sunlight: Most vegetables and herbs require at least 6 hours of sunlight per day.
- Patience: Regrowing from scraps takes time and effort. Don’t get discouraged if your first attempts aren’t immediately successful.
The Easiest Kitchen Scraps to Regrow
Not all kitchen scraps are created equal. Some are easier to regrow than others, making them perfect for beginners.
Vegetables
- Green Onions: Place the white bulb end with roots in a glass of water, ensuring the green parts are above the water line. Refresh the water every 1-2 days. Roots will quickly develop, and you can transplant them into soil once they’re a few inches long. You can also plant directly into soil.
- Celery: Cut off the celery stalk about 2 inches from the base and place the base in a shallow dish of water. Change the water every 1-2 days. After a week or so, you’ll notice new leaves sprouting from the center. Plant the celery base in soil, leaving the new leaves exposed.
- Lettuce: Similar to celery, place the lettuce stump in a shallow dish of water. New leaves will emerge from the center. Transplant into soil once roots develop.
- Garlic: Plant individual garlic cloves (pointy side up) directly into soil. Ensure the soil is well-draining. New shoots will emerge, eventually forming a new garlic bulb.
- Ginger: Plant a piece of ginger rhizome with visible buds (the little bumps) in soil. Keep the soil moist but not soggy. New shoots will sprout from the ginger.
- Potatoes: If potatoes develop eyes (small sprouts), you can cut them into pieces, ensuring each piece has at least one eye. Let the cut pieces air dry for a day or two to prevent rotting. Plant the pieces with the eye facing up in soil.
- Sweet Potatoes: Suspend a sweet potato in a jar of water using toothpicks, with the bottom half submerged. Sprouts will emerge from the top. Once the sprouts are several inches long, gently twist them off and place them in water to grow roots. Then, plant the rooted sprouts in soil.
Herbs
- Basil, Mint, Cilantro: Take stem cuttings from your herb plants, ensuring they have a few leaves. Place the cuttings in a glass of water, removing any leaves that would be submerged. Roots will develop in a few weeks. Transplant the rooted cuttings into soil.
Slightly More Challenging Scraps to Regrow
These scraps require a bit more attention and patience, but the rewards are well worth the effort.
Fruits
- Avocado: Save the pit, clean it thoroughly, and suspend it in a glass of water using toothpicks, with the bottom end submerged. Be patient, as it can take several weeks or even months for roots to emerge. Once the roots are a few inches long, plant the pit in soil, leaving the top half exposed. Be aware that avocado trees grown from seed may not produce fruit, or may take many years to do so.
- Pineapple: Cut off the leafy top of the pineapple, removing any remaining fruit. Let the top dry out for a few days to prevent rotting. Then, plant the top in soil, leaving the leaves exposed. Water regularly and be patient – it can take several months for roots to develop.
- Strawberries: If you have strawberries with seeds on the outside, you can try planting the seeds. Gently scrape the seeds off the strawberry and dry them. Then, sow the seeds on the surface of moist potting soil. Keep the soil moist and provide plenty of sunlight.
Vegetables (Continued)
- Tomatoes: Save the seeds from ripe tomatoes. Spread the seeds on a paper towel and let them dry completely. Then, plant the dried seeds in soil. Keep the soil moist and provide plenty of sunlight.
- Peppers: Similar to tomatoes, save the seeds from ripe peppers, dry them, and plant them in soil.
- Onions: Plant the bottom of an onion with the roots attached directly into the soil . You may need to use a rooting hormone to encourage growth.
Tips for Success
Start Small: Begin with a few easy-to-regrow scraps to gain confidence and experience.
Use Fresh Scraps: The fresher the scrap, the better the chances of successful regrowth.
Provide Adequate Sunlight: Most vegetables and herbs require at least 6 hours of sunlight per day.
Water Regularly: Keep the soil moist but not waterlogged.
Be Patient: Regrowing from scraps takes time and effort. Don’t get discouraged if your first attempts aren’t immediately successful.
Observe Your Plants: Pay attention to your plants’ needs and adjust your care accordingly.
Consider Using Rooting Hormone: For more difficult to propagate plants like onions, rooting hormone can improve your chances of success [externalLink insert]. Consider an organic variety for the best results in your sustainable garden.
Troubleshooting Common Issues
Rotting: Rotting is a common problem when regrowing from scraps. To prevent it, ensure proper drainage, avoid overwatering, and let the scraps dry out slightly before planting or placing in water.
Lack of Growth: If your scraps aren’t growing, make sure they’re receiving enough sunlight, water, and nutrients. You may also need to try a different method of propagation.
Pests and Diseases: Keep an eye out for pests and diseases. Treat any problems promptly with organic solutions.
Expanding Your Scrap Garden
Once you’ve mastered the basics of growing a garden from kitchen scraps, you can expand your repertoire and experiment with different types of plants. Consider joining online gardening communities or consulting with local gardening experts for advice and inspiration. You will be on your way to a sustainable and enriching garden grown right from your kitchen.
The Sustainable Cycle
Growing a garden from kitchen scraps isn’t just about saving money or reducing waste; it’s about embracing a more sustainable lifestyle. It’s about closing the loop in our food system, transforming waste into resources, and connecting with the natural world. It’s about understanding where our food comes from and appreciating the miracle of life that unfolds in our own backyards – or even on our kitchen countertops. So, the next time you’re about to toss those carrot tops or celery bases, remember the potential they hold. With a little effort and a lot of patience, you can transform them into a thriving garden and reap the rewards of sustainable living.