Here's your SEO-optimized article on how to make a worm farm:
How to Make a Worm Farm: A Comprehensive Guide to Vermicomposting
Imagine turning your kitchen scraps into nutrient-rich gold for your garden, all thanks to the tireless work of some wiggly creatures. That's the magic of worm farming, also known as vermicomposting. It's an eco-friendly and surprisingly simple way to recycle food waste and create a fantastic soil amendment. If you're ready to ditch the guilt of tossing banana peels and coffee grounds and embrace a sustainable approach to gardening, then let's dive into the fascinating world of worm farms.
Why Start a Worm Farm?
Before we get into the nitty-gritty of building your worm abode, let's explore why vermicomposting is worth your time and effort:
- Reduces Waste: Worm farms significantly decrease the amount of organic waste sent to landfills, where it contributes to greenhouse gas emissions.
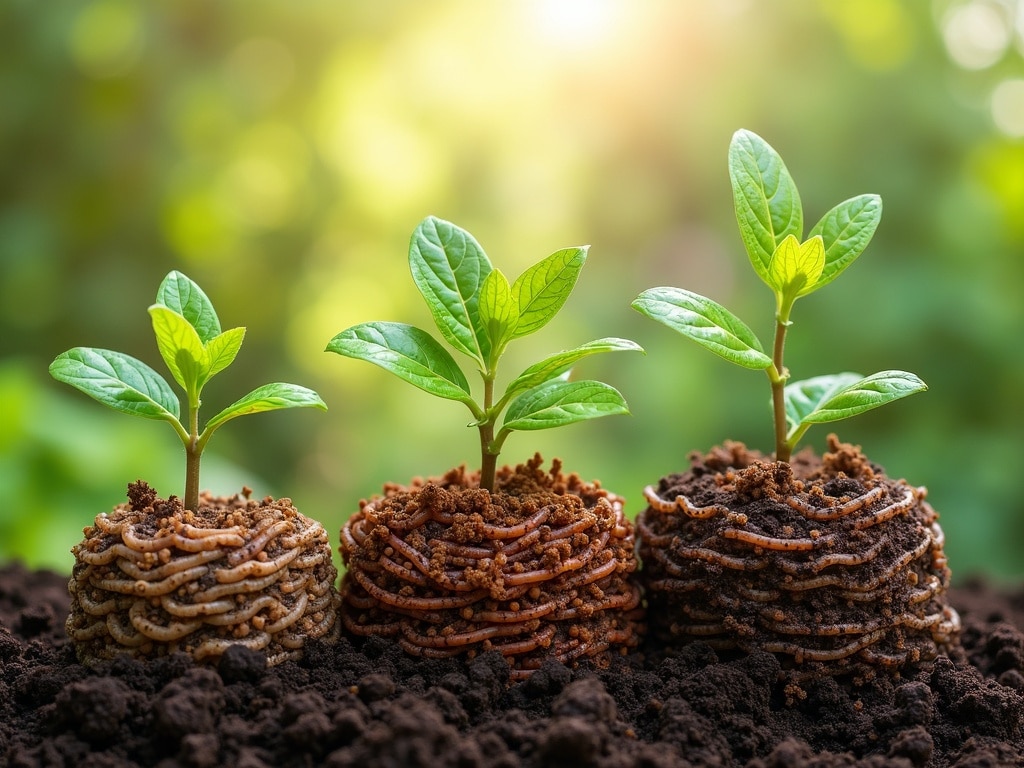
- Creates Nutrient-Rich Compost: Worm castings (worm poop) are an incredible soil amendment, packed with beneficial microbes and nutrients that plants love.
- Improves Soil Health: Worm castings improve soil structure, water retention, and aeration.
- Reduces the Need for Chemical Fertilizers: By using worm castings, you can reduce or eliminate the need for synthetic fertilizers, which can harm the environment.
- It's Educational and Fun: Worm farming is a great way to learn about decomposition, ecology, and sustainable living. It's also a fun project for kids!
Choosing Your Worm Farm Setup
There are several ways to set up a worm farm, from simple DIY bins to commercially available systems. Here's a breakdown of the most common options:
DIY Worm Bins
DIY worm bins are a cost-effective and customizable option. You can use plastic storage bins, wooden boxes, or even old bathtubs! The key is to ensure proper drainage and ventilation.
Pros:
- Affordable
- Customizable to your space and needs
- Uses recycled materials
Cons:
- Requires some DIY skills
- Can be less aesthetically pleasing than commercial systems
- May require more monitoring to ensure optimal conditions
Commercial Worm Farms
Commercial worm farms are designed specifically for vermicomposting and often feature tiered systems for easy harvesting. They are typically made of durable plastic and come with instructions and support.
Pros:
- Easy to set up and use
- Aesthetically pleasing
- Designed for optimal worm health and composting
Cons:
- More expensive than DIY bins
- May not be as customizable
- Plastic construction may not be as environmentally friendly as using recycled materials
The Basic Requirements for Any Worm Farm
Regardless of which type of worm bin you choose, there are some basic requirements it must meet:
- Darkness: Worms prefer dark environments, so your bin should be opaque or kept in a dark location.
- Moisture: Worms need a moist environment to thrive, but not sopping wet. The bedding should feel like a wrung-out sponge.
- Aeration: Worms need oxygen to breathe, so your bin must have adequate ventilation.
- Temperature: Worms thrive in temperatures between 55°F and 77°F (13°C and 25°C).
Building Your DIY Worm Bin: Step-by-Step
Let's walk through the process of building a simple and effective worm bin using two plastic storage bins:
Materials You'll Need:
- Two plastic storage bins (one with a lid)
- Drill with various sized drill bits
- Bedding materials (e.g., shredded newspaper, coconut coir, peat moss)
- Water
Step-by-Step Instructions:
- Prepare the Bottom Bin (Drainage): Wash and sanitize bin. This bin will collect leachate (worm tea).
- Prepare the Top Bin (Worm Habitat): Drill larger holes (1/2 inch) around the upper sides of the other bin for ventilation. Also, drill several small holes (1/4 inch) in the bottom of this bin for drainage to the bottom bin.
- Create the Bedding: Moisten your chosen bedding materials until they are damp but not dripping. A good mix is shredded newspaper and coconut coir.
- Assemble the Bin: Place the bin with drainage holes (the worm habitat) inside the bin without drainage holes (the leachate collector).
- Add the Bedding: Fill the top bin about two-thirds full with the moistened bedding.
- Introduce Your Worms: Gently add your worms to the bedding.
- Add Food Scraps: Bury small amounts of food scraps under the bedding.
- Cover the Bin: Place the lid loosely on top of the bin to maintain darkness and moisture.
Choosing the Right Worms
Not all worms are created equal when it comes to vermicomposting. The best type of worms for worm farms are red wigglers (Eisenia fetida). These worms are surface dwellers that thrive in decaying organic matter. They are readily available online or from local garden centers. Avoid using earthworms from your garden, as they are not suited for the confined environment of a worm bin.
Feeding Your Worms
Worms are not picky eaters, but there are some things they love and some things they should avoid. Here's a general guideline:
Foods Worms Love:
- Fruit and vegetable scraps
- Coffee grounds and tea bags
- Crushed eggshells
- Bread and pasta (in moderation)
Foods to Avoid:
- Meat and dairy products (attract pests and cause odors)
- Oily or greasy foods
- Citrus fruits (in large quantities)
- Onions and garlic (in large quantities)
Feeding Tips:
- Bury food scraps under the bedding to prevent fruit flies.
- Feed your worms only as much as they can consume in a few days.
- Chop up large food scraps to help them decompose more quickly.
- Vary the types of food you feed your worms.
Maintaining Your Worm Farm
Maintaining a healthy worm farm is relatively easy, but it requires regular monitoring and attention. Here are some key maintenance tasks:
- Moisture: Check the moisture level of the bedding regularly and add water as needed to keep it damp.
- Aeration: Turn the bedding occasionally to improve aeration.
- Temperature: Monitor the temperature of your worm farm and move it to a cooler or warmer location as needed.
- Pest Control: Inspect your worm farm regularly for pests such as fruit flies. Use appropriate pest control measures as needed.
Harvesting Worm Castings
After several months, your worm farm will be full of nutrient-rich worm castings. There are several methods for harvesting worm castings:
The Dump and Sort Method:
This method involves dumping the entire contents of the worm bin onto a tarp and sorting out the worms from the castings. It's a bit messy, but it's relatively quick.
The Migration Method:
This method involves moving the finished compost to one side of the bin and adding fresh bedding to the other side. The worms will gradually migrate to the fresh bedding, leaving the castings behind.
The Tiered System Method:
If you have a tiered worm farm, you can simply remove the bottom tray of finished castings.
Using Worm Castings
Worm castings are a fantastic soil amendment that can be used in a variety of ways:
- Potting Mix: Add worm castings to your potting mix to improve drainage, aeration, and nutrient content.
- Garden Beds: Spread worm castings around the base of plants in your garden beds.
- Compost Tea: Steep worm castings in water to make a nutrient-rich compost tea that can be used to fertilize plants.
Explore other composting options with this
Growing Easy Indoor Plants From Seed: A Beginners Guide
to enhance your gardening efforts.
Troubleshooting Common Worm Farm Problems
Even with the best care, you may encounter some problems with your worm farm. Here are some common issues and how to address them:
- Foul Odors: Foul odors are usually caused by overfeeding or anaerobic conditions. Reduce the amount of food you are feeding your worms and improve aeration by turning the bedding.
- Fruit Flies: Fruit flies are attracted to decaying food. Bury food scraps under the bedding and use a fruit fly trap if necessary.
- Worms Trying to Escape: Worms may try to escape if the conditions in the bin are not optimal. Check the moisture level, temperature, and aeration of the bedding.
Conclusion
Creating a worm farm is a rewarding and sustainable way to recycle food waste and create a valuable soil amendment. With a little effort and attention, you can transform your kitchen scraps into nutrient-rich gold for your garden, all thanks to the amazing power of worms. So, get started today and experience the joys of vermicomposting!